Custom Insulated Backpack Coolers: Shoulder Straps and Ice Retention
A carried cooler trades some ice retention for carriage: the back panel sits against a warm body and the harness compresses the foam. Specify 8 mm in the base and sides, a ventilated spacer at the back, and a harness rated for the loaded weight.
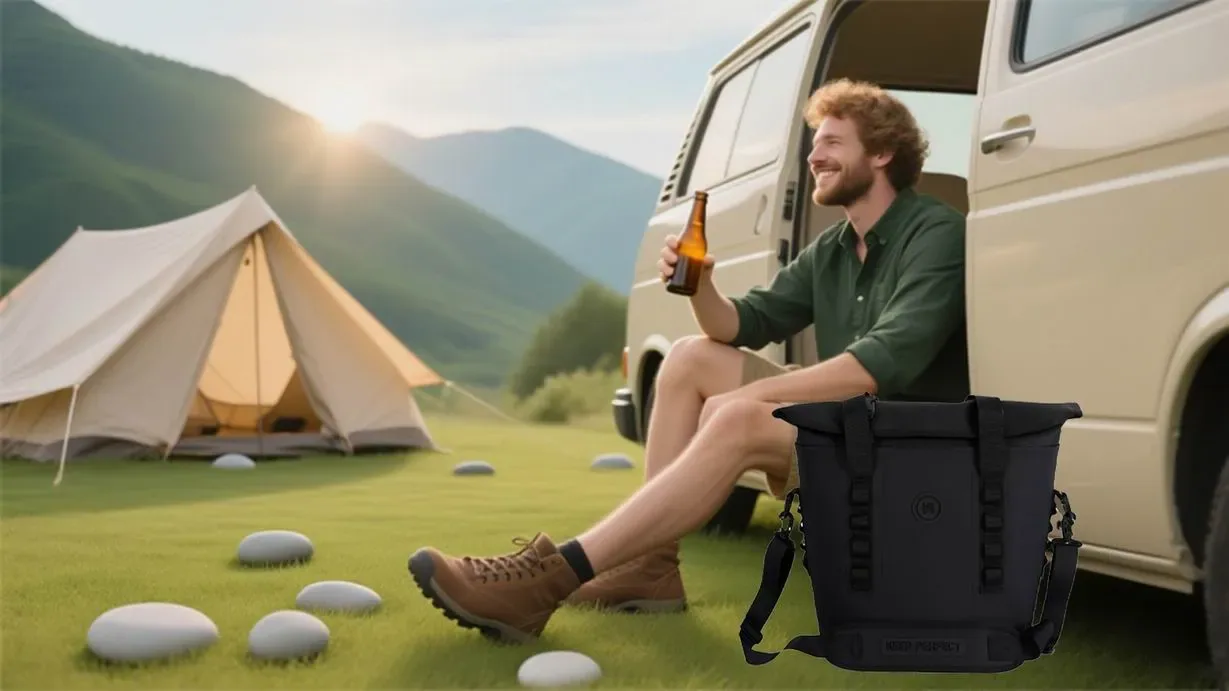
An insulated backpack cooler trades ice retention for carriage, and the trade is real: the back panel sits against a warm body, so the insulation there is compressed by the load and warmed from behind. The working build puts 8 mm in the base and side walls, 6 mm or less in the back panel with a ventilated spacer, and a padded harness rated for the loaded weight.
A carried cooler is a different article from a carried bag, because the payload is heavy for its volume and because the surface against the wearer is one of the insulating panels. Those two facts decide the design: the harness has to carry a load that would be uncomfortable in an ordinary bag, and the back panel has to be insulated without becoming a sweat pad. This piece sets out how carriage and ice retention interact, what the harness specification has to contain, and where the compromise should be made.
| Variable | Standing bag | Carried bag | What it costs |
|---|---|---|---|
| Back panel surface | Ambient air | A body at about 33 °C | Roughly half an hour to an hour over two hours |
| Foam compression | None | The harness compresses the back and sides | An 8 mm panel at 6 mm loses a quarter of its resistance |
| Impulse load | Static | Every step loads the strap attachment | The anchorage has to reach the base panel |
| Access | Opened at a table | Opened while worn or on the ground | A front panel opening beats a top opening |
| Pack-out | Filled by volume | Filled for balance | Mass low and close to the back |
How Does Carrying a Cooler Change the Load Case?
Three ways. The payload density: a 20-can cooler holds about 13 litres and weighs about 7 kg loaded, against the 2 to 3 kg of a day bag of the same size, so the harness sees two to three times the load. The load path: a cooler is a rigid-ish box, so the load does not shift to follow the body the way a soft load does, and every step produces a sharper impulse at the strap attachment. And the contact surface: one panel of the insulation is against the wearer, which is both a comfort problem and a thermal one.
The consequence is that a harness specified the way a day-bag harness is specified will fail. A 25 mm webbing strap with a light pad is adequate for 3 kg and inadequate for 7 kg over an hour; the failure is not the strap breaking, it is the wearer taking the bag off, and the second failure is the anchorage tearing out after a season.
What Does the Harness Specification Have to Contain?
Six fields: strap width, pad thickness and density, strap geometry, the sternum strap, the anchorage and the pull test. Forty to fifty millimetres is the working width for a 7 kg load, with a closed-cell pad of 8 to 10 mm at a density that does not bottom out; an S-shaped strap keeps the pad off the neck and on the shoulder. A sternum strap stops the straps sliding outward, which is the complaint that makes people stop using the bag, and it matters more as the load rises.
The anchorage is where the failure happens. The strap has to be anchored into a reinforced panel whose load path reaches the base of the bag rather than into a side seam, and the stitch has to be specified: a box-stitch with a bar-tack, to a stated stitch class under ASTM D6193, with a pull test on a production unit to a stated load. That is three lines on a drawing and it is the difference between a harness that lasts and one that tears out.
| Loaded weight | Strap width | Pad | Sternum strap | Anchorage |
|---|---|---|---|---|
| Up to 4 kg | 25 mm | 6 mm foam | Optional | Reinforced patch, box-stitch |
| 4 to 7 kg | 38-40 mm | 8 mm foam | Recommended | Reinforced panel reaching the base |
| 7 to 10 kg | 45-50 mm | 10 mm foam, higher density | Required, with a load-bearing webbing | Panel plus a webbing extension into the base |
| Above 10 kg | 50 mm with a hip belt | 10 mm with a stiffer core | Required, plus a hip belt | A moulded frame sheet or a stiffener |
| Any weight, long carry | As by weight, plus a ventilated back panel | As by weight | As by weight | As by weight, pull-tested to a stated load |
Does the Back Panel Insulate or Breathe?
It has to do both, and the resolution is a spacer: an air gap between the insulation and the wearer, carried on a mesh or a perforated panel with ridges. The insulation stays against the load, the air gap carries the perspiration away, and the wearer does not sit against a sealed film. A back panel with no spacer is the most common comfort failure on this format and it is also a thermal failure, because body heat conducts straight into the load.
Where the duty is short and the load is cold, a plain insulated back panel is acceptable and it performs better thermally; where the carry is longer than twenty minutes, the spacer wins and the thermal cost is small. The way to quantify it is to test both: the same bag, the same load, one with the spacer and one without, over the actual carry time.
A seventh detail is the lid on a carried bag, and it is the one designers get wrong most often. A carried cooler is top-heavy by nature, so a thick lid puts mass where it hurts most and makes the bag tall enough to catch doorways. Six millimetres with a reflective facing is usually enough, and the money is better spent on the base and the harness.
An eighth detail is the grab handle. Whatever the harness does, the bag will be lifted by a top handle into a boot and out of it, and that handle has to be specified for the loaded weight with the same anchorage discipline as the straps. A grab handle that tears off does not injure anybody and it still ends the life of the product, which is why it belongs on the harness drawing with its own anchorage detail.
How Much Ice Retention Is Lost to Being Carried?
Less than buyers fear and more than suppliers admit. The back panel against a body at 33 °C is a warm surface at a fixed temperature, and it replaces the ambient air against that face of the bag, so the loss through the back panel rises. On a 13-litre bag the back panel is roughly a fifth of the surface area, and the measured difference on a two-hour carry is on the order of half an hour to an hour of ice retention against the same bag standing in 25 °C air.
The larger effect is compression. A carried bag is strapped tightly against the body, and the foam in the back panel and the side walls is under sustained pressure; an 8 mm panel compressed to 6 mm loses a quarter of its resistance at exactly the place where the warmest surface is. Specifying a higher-density foam on this format is not a refinement, it is the difference between the specified performance and the delivered performance.
Where Should the Insulation Go on a Carried Cooler?
Into the base and the sides, less into the lid, and least into the back. The base carries the load and sits against whatever the bag is put down on, so it takes full thickness. The sides are the largest area and take full thickness. The lid is the panel easiest to over-build on a carried bag because a thick lid makes the bag tall and top-heavy, and top-heavy is the thing that makes a heavy load unpleasant. The back takes enough to protect the load from the body and no more, because every millimetre there is a millimetre of comfort lost.
That allocation is also a stability decision. A carried load wants its mass low and close to the back, so the heaviest part of the pack-out — cans and gel packs — should sit at the bottom, against the back, with the lid lightly loaded. A pack-out instruction belongs with the bag, because the user decides this and not the designer.
What Does the Thermal Test Look Like for a Carried Format?
The same protocol, run in the orientation the bag will be used in, which for a carried bag means upright and against a surface at body temperature rather than lying flat on a bench. That is a small change to the rig — a heated plate at the back panel position, held at a stated temperature — and it is the change that makes the number mean something. A bag tested lying flat has never met a back.
Then add a carry simulation: worn, or on a rig that reproduces the flex and the strap tension, for the stated carry time, with the stated ambient. Both numbers are worth having, and reporting them separately is more honest than blending them into one figure.
Specifying a carried insulated cooler
- Specify the harness by loaded weight: width, pad, sternum strap and anchorage.
- Anchor the straps into a reinforced panel that reaches the base, and pull-test it.
- Use a spacer back panel: it keeps the insulation on the load and the sweat off the wearer.
- Use a higher-density foam, because a carried bag compresses its own insulation.
- Test upright against a heated plate, not lying flat on a bench.
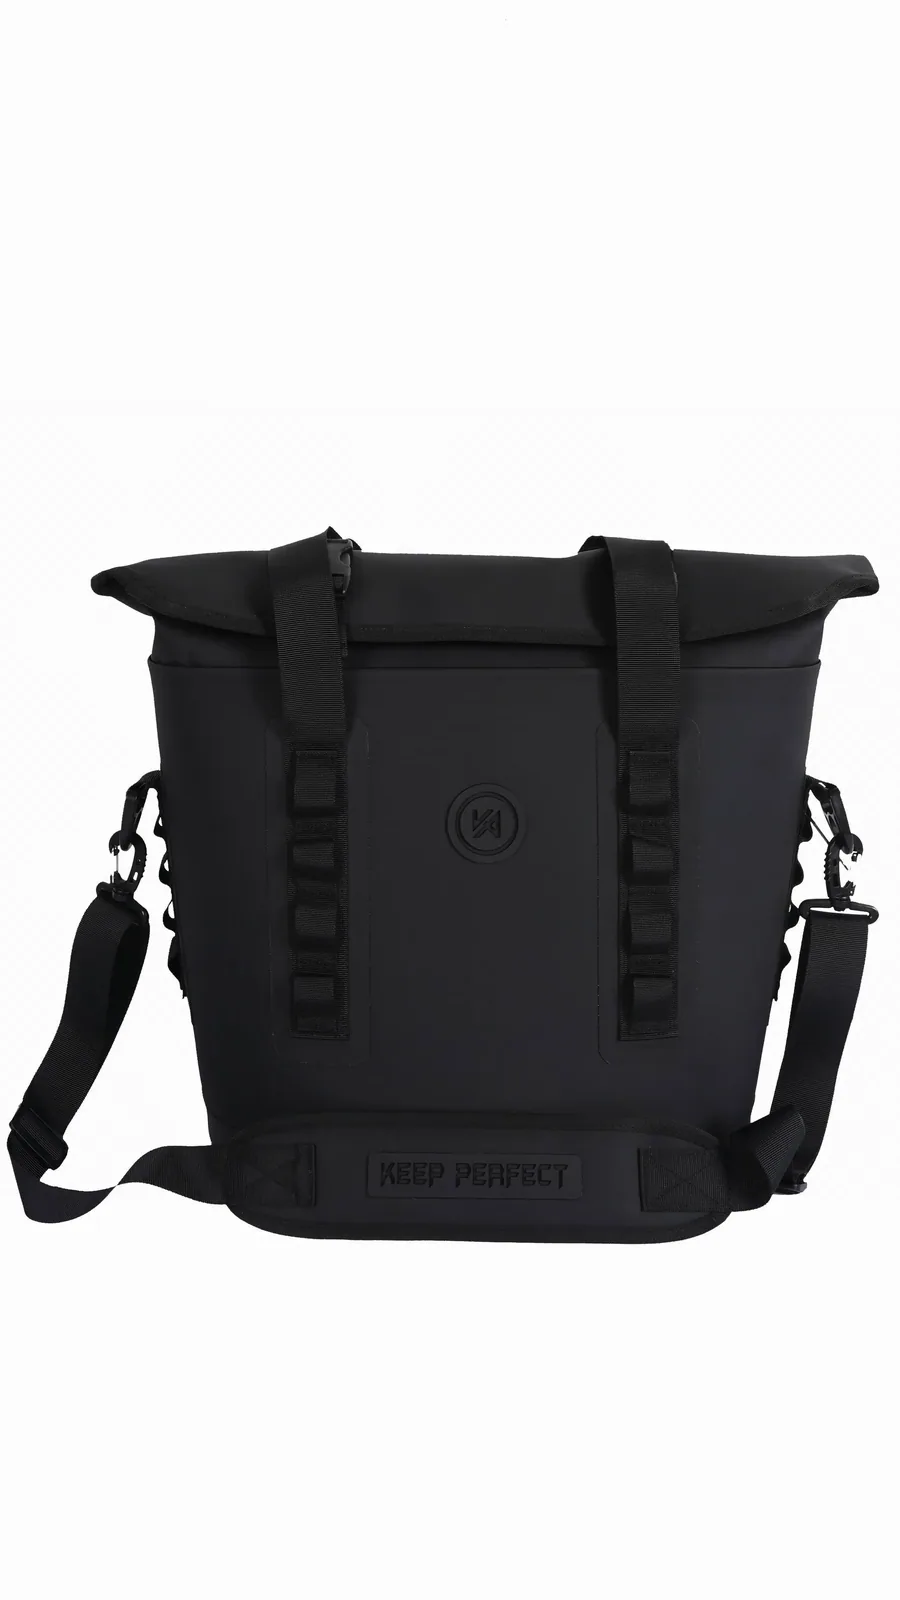
A fourth carriage question is the balance of the pack-out, and it is the one users notice without being able to name. A heavy load high in the bag pulls the wearer backwards and makes every step work harder; the same load low and against the back is comfortable for an hour. The design levers are the internal layout — a base compartment for refrigerant and cans — and a lid that is lightly loaded. Both belong on the drawing and both belong in the pack-out instruction.
A fifth is the hip belt. Below about 7 kg a hip belt is decoration; above it, it transfers a third or more of the load to the skeleton, which is where a heavy load is supposed to be carried. Where the duty is a full day and the load is ten kilos or more, specify a padded hip belt with a load-bearing webbing that continues into the base panel rather than a strap attached to the side of the bag.
A sixth is access without removal. A carried cooler is often opened while it is being worn, by a second person, or while it is standing on the ground. A side access panel for the items that are wanted most often keeps the main cavity closed and keeps the cold in, and it costs a zipper and a pocket.
Which Closure and Layout Suit a Carried Cooler?
A full-length zipper around the front panel, because a carried bag is opened while it is standing or while it is on the ground, and a top opening is awkward in both cases. The zipper should be #8 or #10 with a covered flap, because the front panel is the largest face and the closure is a thermal path across it. A roll-top is the other option and it seals better, at the cost of a taller bag and slower access.
The internal layout should keep the cold low: a base compartment for the gel packs, the load above it, and any dry items in a separate outer pocket so the main cavity is not opened for them. Every opening of the main cavity costs cold, and a carried bag is opened by a wearer who is standing in the sun.
There is one more document worth adding for a carried format: a fit and comfort note from the wear trial. A harness that measures correctly can still be wrong on a particular body shape or over a particular jacket, and a five-person wear trial with a loaded bag for twenty minutes finds that in an afternoon. Record what was tried and what changed, because the second run inherits the decision.
A further specification note: the shoulder strap adjustment range has to be written down. A harness that fits a light jacket will not fit a winter coat, and a strap with twenty millimetres of adjustment left is a strap that will be complained about by the largest and the smallest users on the fleet. Give the range on the drawing and check it on a production unit.
A further practical note: the harness is the part of the bag a user touches every time, and it is the part most often specified last. Give it its own drawing with the width, the pad, the geometry, the anchorage and the pull-test figure on it, rather than a note on the main sheet. A harness with its own drawing survives a reorder, and a note on the main sheet does not.
A final point on this format: decide what the bag is for before deciding what it is. A cooler that is carried to a picnic, one that is carried to a worksite and one that is carried on a commute have different loads, different carry times and different expectations of access, and the harness and the layout follow from the answer. Three questions at the brief save two sampling cycles later.
How Do the Programme Numbers Work Here?
MOQ 500 pcs per style and colourway, sampling 6-10 working days from a signed-off tech pack, bulk production 35-50 days from sample approval, inspection at AQL 2.5 under ISO 2859-1 General Inspection Level II, T/T 30/70, FOB Xiamen. A carried cooler with a moulded frame sheet or a tooled spacer panel is a complex build and moves sampling toward the 12-15 working day end, because those parts are tooled or sourced.
Two documents are worth adding to the file for this format specifically. A pull test result for the harness, because it is the failure that injures somebody and returns the product. And a pack-out instruction showing where the load and the refrigerant go, because stability and ice retention are both decided by the user on this format.
Specify the harness with the insulation
Send the loaded weight, the carry time, the ambient and the quantity. You get a harness and build recommendation within one business day.
Frequently Asked Questions
Do insulated backpack coolers hold ice as long as a shoulder bag?
Slightly less. The back panel sits against a warm body and the harness compresses the foam, so expect roughly half an hour to an hour less over a two-hour carry than the same bag standing in 25 °C air.
How wide should the shoulder straps be?
Thirty-eight to forty millimetres for a 4 to 7 kg load, 45 to 50 mm above 7 kg, with a closed-cell pad of 8 to 10 mm that does not bottom out.
Why does the strap attachment fail?
Because it is anchored into a side seam rather than into a reinforced panel whose load path reaches the base. A box-stitch and bar-tack into that panel, pull-tested to a stated load, is the fix.
Should the back panel be insulated?
Yes, with a spacer: insulation against the load and an air gap against the wearer. A sealed film against the back is a comfort failure and a thermal one.
Does a sternum strap matter?
Yes, and more as the load rises. It stops the straps sliding outward, which is the complaint that makes people stop using the bag.
Does body heat warm the load?
Yes. The back panel faces a surface at about 33 °C rather than ambient air, so the loss through that face rises measurably.
Why use a higher-density foam on this format?
Because a carried bag compresses its own insulation. An 8 mm panel strapped to a body at 6 mm has lost a quarter of its resistance.
How should a carried cooler be tested?
Upright, against a heated plate at the back panel position held at a stated temperature, with a carry simulation for the stated time.
Which closure suits a carried cooler?
A full-length zipper around the front panel with a covered flap, because a carried bag is opened standing or on the ground. A roll-top seals better and is slower to use.
Where should the gel packs go?
In a base compartment, with the load above. Mass low and close to the back is both more stable and better thermally.
What is the MOQ for a carried insulated cooler?
500 pcs per style and colourway, with repeat programmes open to discussion at 300 pcs.
How long does sampling take?
6-10 working days, moving toward 12-15 where a frame sheet or a spacer panel is tooled or sourced.
What inspection applies?
AQL 2.5 for major defects to ISO 2859-1 at General Inspection Level II, with a strap anchorage failure counted as critical.
Should the bag be tested with a wearer?
Ideally, or on a rig that reproduces the flex and the strap tension. A static chamber test does not reproduce either.
People Also Ask
Do backpack coolers keep ice as long as soft coolers?
Marginally less: body heat on the back panel and compression from the harness cost about half an hour to an hour over a two-hour carry.
How wide should cooler backpack straps be?
Thirty-eight to fifty millimetres by loaded weight, with an 8 to 10 mm pad that does not bottom out.
Why do cooler backpack straps tear off?
The anchorage is stitched into a side seam instead of a reinforced panel reaching the base.
Should the back of a cooler backpack be insulated?
Yes, with a ventilated spacer between the insulation and the wearer.
How much weight should an insulated cooler carry?
Up to 7 kg on a padded harness with a sternum strap; above that, add a hip belt and a stiffener.
Sources and further reading
Every figure on this page is either our own programme data or attributed below. Open the originals before you write them into a specification.
- ASTM D6193 — Standard Practice for Stitches and SeamsASTM International
- ISO 2859-1:1999 Sampling procedures for inspection by attributesInternational Organization for Standardization
- ISTA 7 Series — Thermal transport packaging performance testsInternational Safe Transit Association